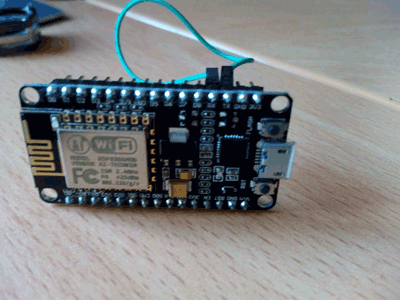
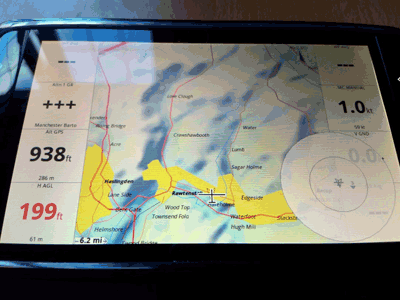
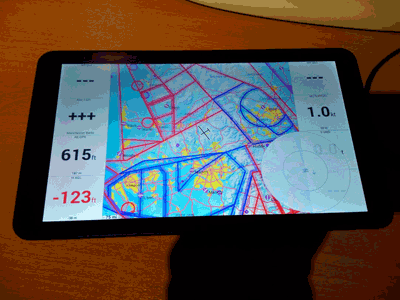
Step 7 : Testing the board via the web :- we can now see if its working. If you have entered your Router Details and AirWhere reported that it's connected to the Internet then you should be able to see yourself on Live Tracking Page if you have installed the live version.
This shows the last positions of your unit, it will upload a new marker
everytime your unit uploads its position to the web. To clear, refresh your browser
Note : The GPS needs to be active and have GPS lock for the device to start web upload.
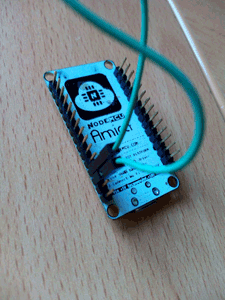
Step 8 : Hopefully now you will be able to see yourself on the internet and everything should be ok. Proceed onto the Hardware section. One work of warning, as you proceed through the hardware section, keep checking the board is ok, ie, when you remove all the pins, plug it into USB and see if it comes back as an Access Point, when you connect the GPS , then check again, this helps you eliminate any problems while building. If at any point it stops working and you are checking it step by step, you will know which step has stopped it.
If you have any problems this video should help, sorry for the poor quality but it should show enough to get you started. For some reason the flashing app wouldn't appear on a screen recorder, but sure you will work it out ;-)
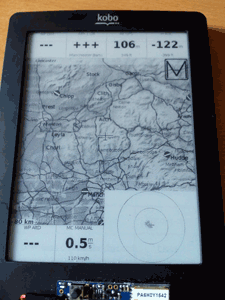
At this point its best to run the board for a few hours with your flight software connected to make sure its a decent board and all is ok before proceeding to install the rest of the hardware, at the moment theres a small issue when testing with wifi only withtout a lora board connected, if runs fine for about 3 mins and then restarts - attach a lora board and this issue goes away - we are fixing this at the moment so if your esp is doing this, its working ok :) ( 2/5/17 )
The AirWhere software is free and will always be free along with all updates for anyone wanting to make a unit, however for those with less time or wish purchase a kit or parts visit this page.