|
|
Step 9-13 : Building the Hardware
You now need to choose which version to make, theres lots of different options and ways to make this project.
The most compact and easiest to use is the fully integrated one, this gives you a kobo with large battery and the entire system in one box, however this might nnot be suitable for your purpose.
>>>>> Please click on the image or the link to select your chosen setup. <<<<<
Once you have built the hardware please Register your unit so you will have your own unique ID.
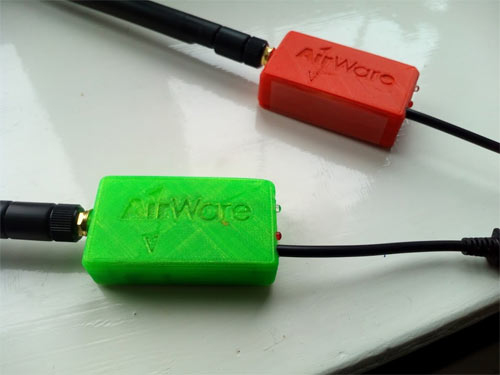 |
This is the wifi version - this will connect to any instrument which has wifi - kobo, android , wince etc etc
This unit requires power supply from a separate 5volt supply, most pilots fly with such a unit as a backup supply anyway for charging phones etc.
Click here to get started.
|
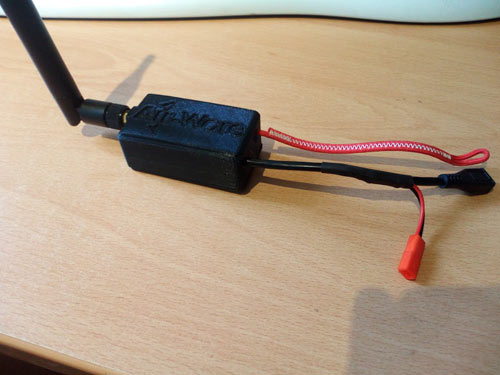 |
This is the standalone version - this will connect to any instrument which has wifi aswell- kobo, android , wince etc etc , with the added bonus it has the GPS inside so it can provide a GPS feed, so you do not need to add a gps for the kobo, just build one of these and wire it straight in.
This unit will also work as a standalone tracker, just plug it in and its starts to transmit your position out to surrounding pilots.
This unit requires power supply from a separate 5volt supply, most pilots fly with such a unit as a backup supply anyway for charging phones etc.
Click here to get started.
|
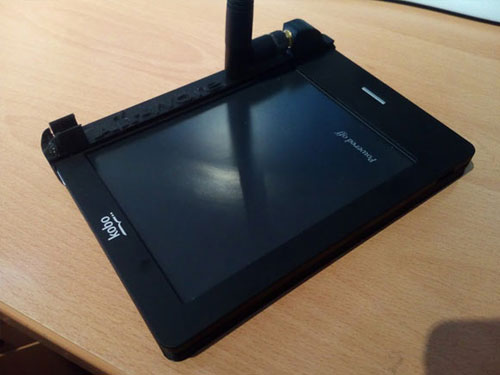 |
This is the fully integrated version - one instrument with all the hardware built in, switch on and fly.
We would recommend this unit if your going to make one as theres no wires, no fuss, very simple to use.
Click here to get started.
|
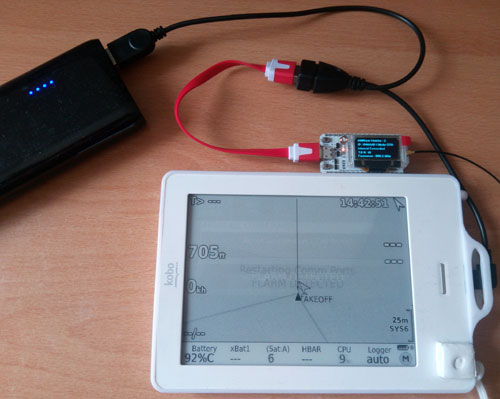 |
If you dont fancy soldering or even opening up the Kobo then we suggest the OTG version, buy a kobo, clip on the case, install the software and plug the USB in...... your away!
Click here to get started.
|
|
|
|
|
|
|
